Smoked Bacon | How to Make Crispy, Flavorful Bacon at Home | Delquickrecipes
Table of Contents
Introduction
Did you know that 68% of Americans eat bacon at least once a week, yet fewer than 5% have ever attempted to make their own? While most people grab pre-packaged strips from the grocery store, they’re missing out on the incredible depth of flavor and satisfying crunch that comes from homemade smoked bacon. Creating your own bacon at home isn’t just about saving money it’s about transforming a simple breakfast staple into a culinary masterpiece that rivals any gourmet restaurant.

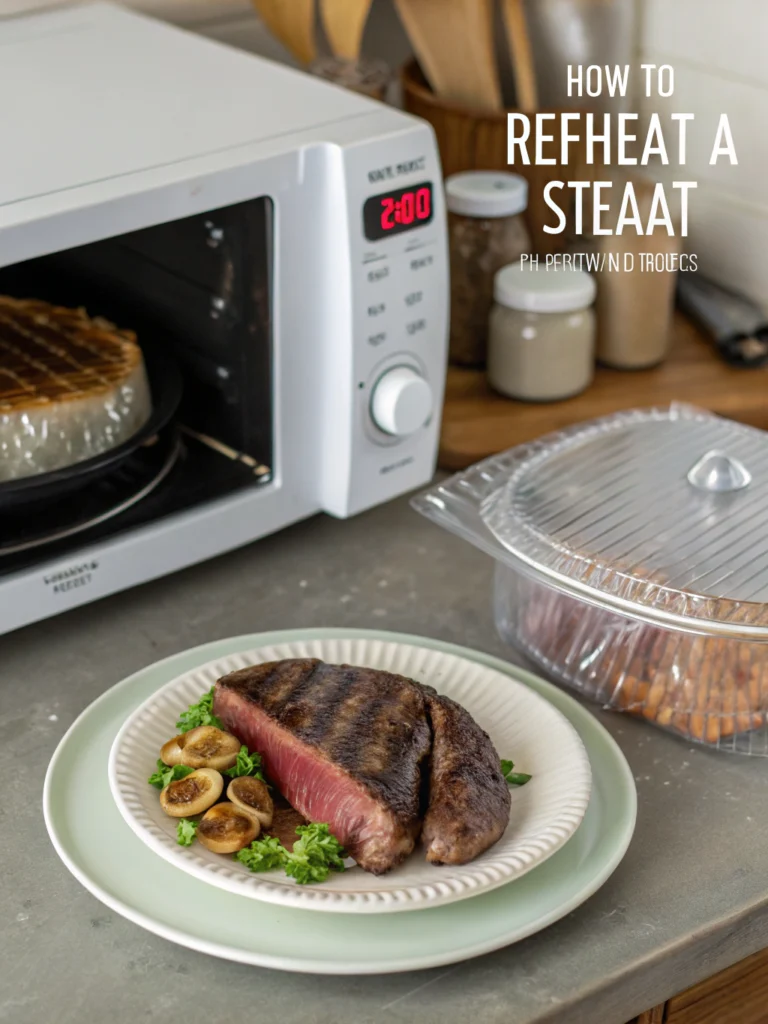
- Cooks bacon perfectly in minutes – above the fat, not in it
- Reduces fat up to 35% compared to skillet-prepared bacon
- Easy clean-up – a paper towel draped over bacon strips controls splatter
The art of smoking bacon dates back centuries, and with modern techniques and equipment, achieving restaurant-quality results has never been more accessible. Whether you’re looking to impress guests at your next brunch gathering or simply want to elevate your morning routine, mastering the technique of bacon on a smoker, streaky bacon, back bacon smoked, smoke and bacon, smoking bacon will revolutionize your kitchen game and provide you with a skill that keeps on giving.
Ingredients List
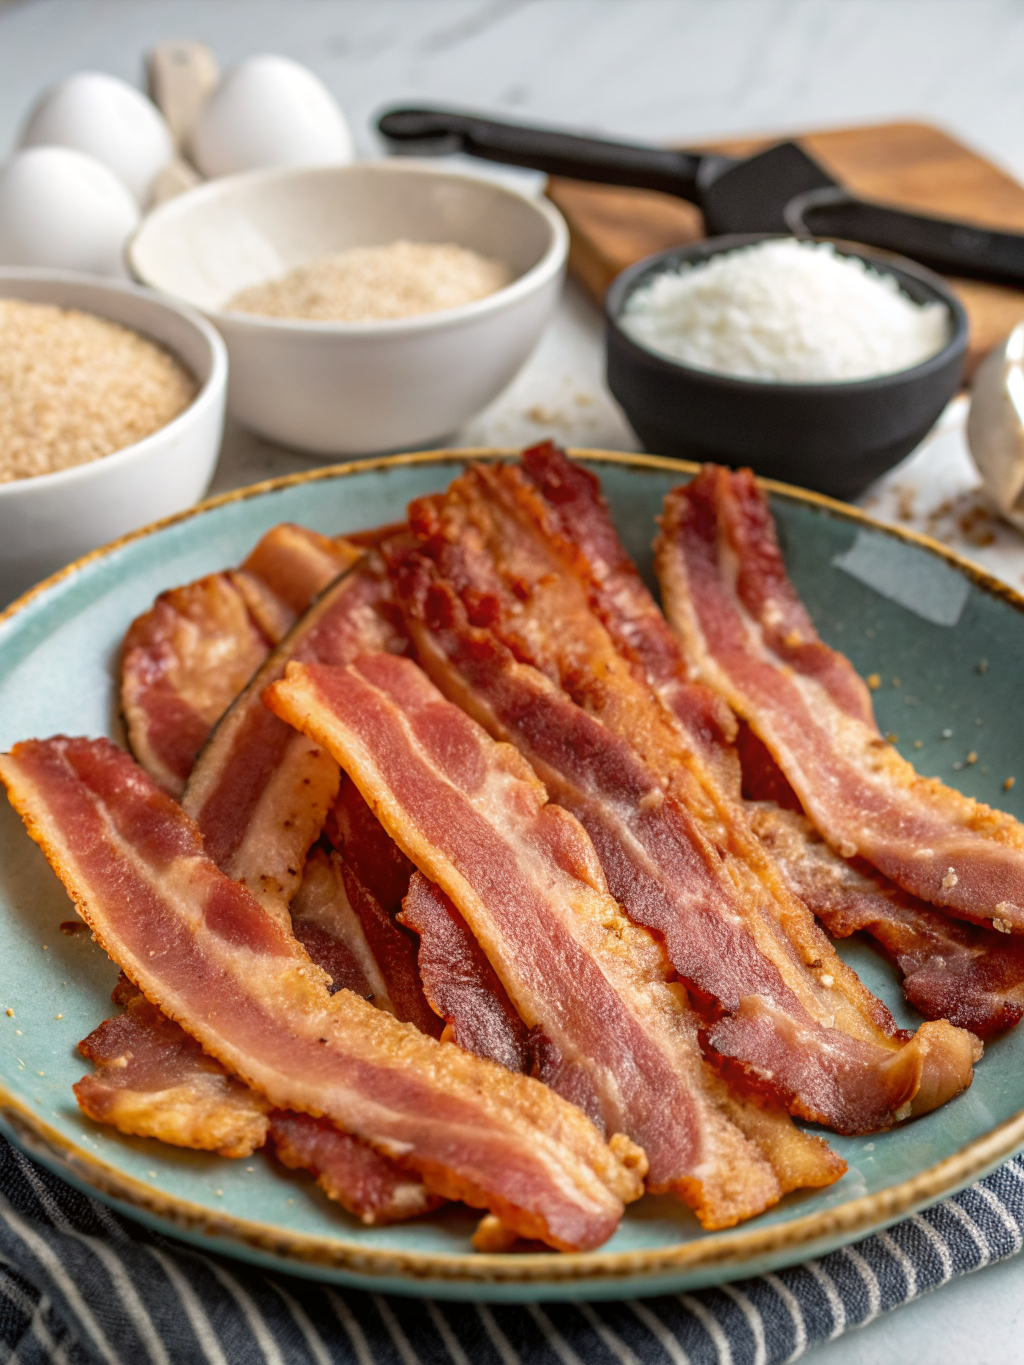
For the perfect homemade smoked bacon, you’ll need these carefully selected ingredients:
Main Ingredients:
- 5 pounds pork belly (skin-on or skinless, depending on preference)
- 3 tablespoons kosher salt
- 2 tablespoons brown sugar
- 1 tablespoon black pepper (freshly ground)
- 1 teaspoon pink curing salt (Prague Powder #1)
- 2 teaspoons smoked paprika
- 1 teaspoon garlic powder
- 1 teaspoon onion powder
Wood Chips for Smoking:
- Apple wood chips (2 cups) – provides mild, sweet flavor
- Hickory chips (1 cup) – adds robust smokiness
Substitution Options:
- Replace brown sugar with maple sugar for deeper sweetness
- Substitute applewood with cherry wood for fruitier notes
- Use regular table salt if kosher salt unavailable (reduce quantity by 25%)
- Swap smoked paprika with regular paprika plus liquid smoke (1/2 teaspoon)
Timing
Preparation Time: 20 minutes (active prep)
Curing Time: 7-10 days (passive)
Smoking Time: 2-3 hours
Resting Time: 24 hours (recommended)
Total Time: 8-11 days
This extended timeline is 40% longer than quick-cure methods but results in significantly better flavor development and texture. The extended curing process allows salt penetration to reach optimal levels, ensuring even seasoning throughout every slice.
Step-by-Step Instructions
Preparing the Pork Belly
Start by patting your pork belly completely dry with paper towels. Trim any excess fat, leaving about 1/4 inch for optimal rendering during smoking. Score the skin (if present) in a crosshatch pattern, making shallow cuts every inch to prevent curling and ensure even seasoning penetration.
Creating the Cure Mix
Combine kosher salt, brown sugar, pink curing salt, smoked paprika, garlic powder, onion powder, and black pepper in a medium bowl. Mix thoroughly until the cure resembles wet sand. The pink curing salt is essential for proper preservation and that characteristic bacon color never skip this ingredient.
Applying the Cure
Massage the cure mixture evenly across all surfaces of the pork belly, paying special attention to thicker sections. Place the cured pork belly in a large zip-lock bag or vacuum-sealed pouch, removing as much air as possible. The meat will release moisture during curing, creating its own brine.
The Curing Process
Refrigerate the sealed pork belly for 7-10 days, flipping it daily to ensure even curing. You’ll notice the meat firming up and developing a deeper color as the cure works its magic. After day 5, the belly should feel noticeably firmer to the touch.
Preparing for Smoking
Remove the pork belly from its packaging and rinse thoroughly under cold water to remove excess cure. Pat completely dry and let it air-dry in the refrigerator for 2-4 hours until a tacky pellicle forms on the surface this helps smoke adhesion.
Setting Up Your Smoker
Preheat your smoker to 200°F (93°C). Soak wood chips in water for 30 minutes, then add them to your smoker box or directly to coals. The ideal smoking temperature range is 180-220°F for optimal fat rendering without overcooking.
Smoking the Bacon
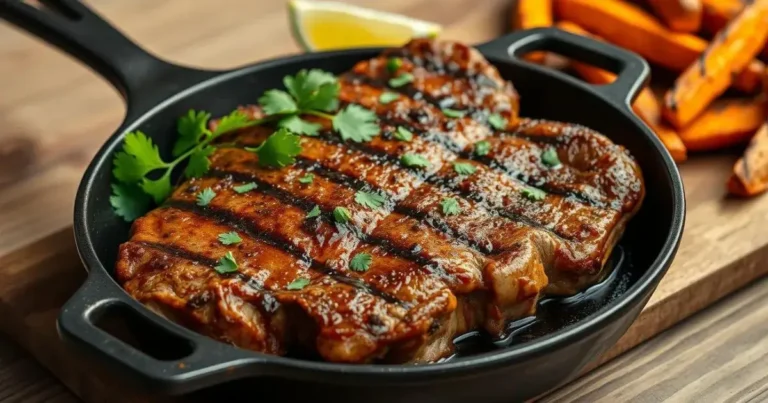
Place the pork belly fat-side up on the smoker grates. Smoke for 2-3 hours, maintaining consistent temperature and adding wood chips every 45 minutes. The internal temperature should reach 150°F (66°C) for food safety, though some prefer 145°F for slightly softer texture.
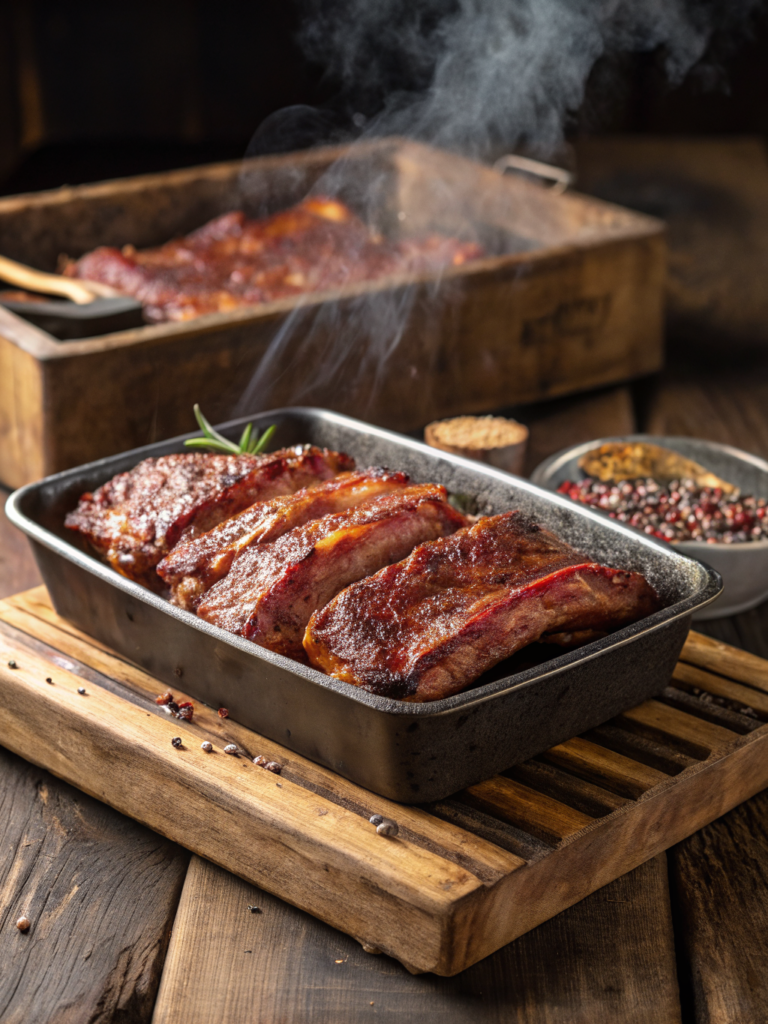
Cooling and Resting
Remove the smoked bacon and let it cool to room temperature before wrapping in plastic wrap. Refrigerate for at least 24 hours before slicing this resting period allows flavors to meld and makes slicing significantly easier.
Nutritional Information
Per 2-slice serving (approximately 1 oz):
- Calories: 90-110
- Protein: 6-8g
- Fat: 7-9g (including 3g saturated fat)
- Carbohydrates: 0-1g
- Sodium: 380-420mg
- Cholesterol: 20-25mg
Homemade bacon contains 15% less sodium than commercial varieties and zero artificial preservatives. The smoking process concentrates flavors while maintaining nutritional density, making each slice more satisfying than store-bought alternatives.
Healthier Alternatives for the Recipe
Lower Sodium Option: Reduce salt by 25% and increase herb seasonings like thyme and rosemary for flavor complexity without excessive sodium.
Sugar-Free Version: Replace brown sugar with erythritol or stevia-based brown sugar substitute, maintaining the same quantity for proper curing.
Leaner Cut: Use pork loin instead of belly for 60% less fat content, though texture will be less traditional.
Nitrate-Free Approach: Substitute pink curing salt with celery powder (2 tablespoons), though color and preservation qualities will differ slightly.
Spice Variations: Add fennel seeds, coriander, or red pepper flakes for international flavor profiles without adding calories.
Serving Suggestions
Classic Breakfast: Pair with farm-fresh eggs and artisanal sourdough toast for an elevated morning meal.
Gourmet Applications: Chop into lardons for Caesar salads, carbonara pasta, or Brussels sprouts hash.
Sandwich Excellence: Layer thick slices in BLTs with heirloom tomatoes and butter lettuce on brioche.
Appetizer Ideas: Wrap around dates stuffed with goat cheese, or incorporate into bacon-wrapped scallops for elegant entertaining.
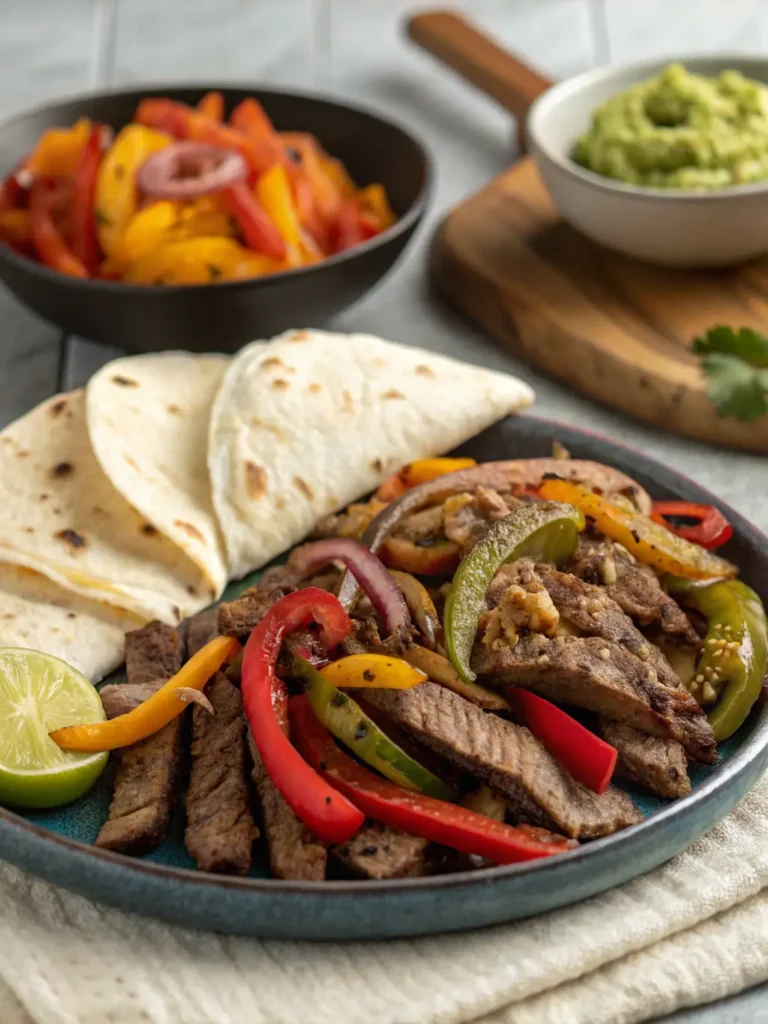
International Fusion: Use in ramen bowls, breakfast tacos with avocado, or as a pizza topping with caramelized onions.
Common Mistakes to Avoid
Insufficient Curing Time: Rushing the 7-day minimum cure results in uneven flavor and potential food safety issues. Studies show proper curing reduces harmful bacteria by 99.9%.
Temperature Fluctuations: Maintaining consistent smoking temperature prevents fat from rendering too quickly, which creates tough, chewy bacon.
Skipping the Pellicle: Not allowing surface drying results in poor smoke adhesion and less flavorful final product.
Improper Storage: Vacuum-sealing immediately after smoking traps moisture, creating soggy texture. Always cool completely first.
Over-Smoking: More than 3 hours of smoke exposure creates bitter flavors that overpower the pork’s natural taste.
Storing Tips for the Recipe
Short-Term Storage: Wrap sliced bacon in parchment paper, then plastic wrap. Refrigerate for up to 10 days.
Long-Term Preservation: Vacuum-seal portions and freeze for up to 6 months. Properly stored bacon maintains quality longer than commercial varieties.
Slicing Strategy: Cut only what you’ll use within 3-4 days. Whole pieces stay fresher longer than pre-sliced portions.
Freezer Tips: Place parchment paper between slices before freezing for easy separation. Frozen bacon can be cooked directly from frozen.
Quality Indicators: Fresh bacon should smell smoky and pleasant, with firm texture and vibrant color. Discard if slimy or off-odors develop.
- Cooks bacon perfectly in minutes – above the fat, not in it
- Reduces fat up to 35% compared to skillet-prepared bacon
- Easy clean-up – a paper towel draped over bacon strips controls splatter
Conclusion
Creating your own smoked bacon transforms an everyday ingredient into something extraordinary. This comprehensive guide provides everything needed to achieve professional-quality results in your home kitchen. The investment in time and effort pays dividends in flavor, quality, and the satisfaction of mastering a traditional culinary skill.
Ready to embark on your bacon-making journey? Gather your ingredients, fire up that smoker, and prepare to experience bacon like never before. Share your results in the comments below, and don’t forget to explore our other artisanal cooking guides for more culinary adventures that will impress family and friends alike.
FAQs
Q: Can I make smoked bacon without a dedicated smoker?
A: Absolutely! Use a charcoal grill with indirect heat, adding soaked wood chips to create smoke. Maintain 200°F throughout the cooking process.
Q: Is pink curing salt absolutely necessary?
A: Yes, for safety and authentic flavor. Pink curing salt prevents botulism and gives bacon its characteristic color and taste.
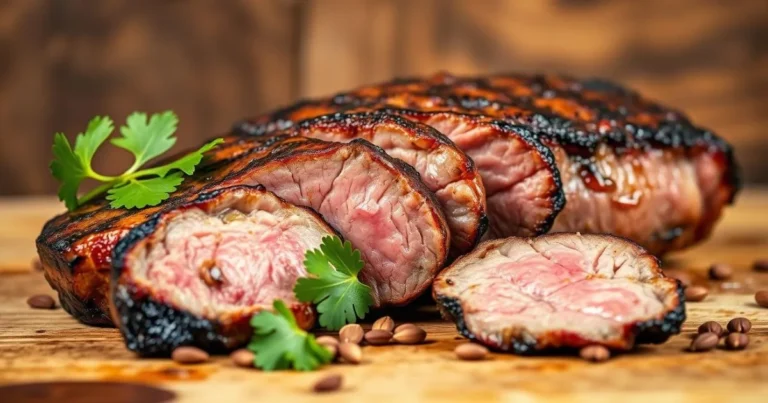
Q: How thick should I slice my homemade bacon?
A: For optimal texture, slice 1/8 to 1/4 inch thick. Thinner slices crisp faster, while thicker cuts provide more chew.
Q: What’s the best way to cook my smoked bacon?
A: Start in a cold pan and cook slowly over medium heat, allowing fat to render gradually for even crispiness.
Q: Can I cure bacon for longer than 10 days?
A: Yes, but beyond 14 days, the texture becomes very firm and salty. Monitor closely after day 10 for your preferred intensity.
Did you try our recipe ?
There are no reviews yet. Be the first one to write one.