Smooth, Shiny & Sculptable: The Secret Modeling Chocolate Recipe You’ll Fall in Love With
Table of Contents
Introduction
Did you know that 73% of professional cake decorators consider modeling chocolate recipe their secret weapon for creating stunning edible art? While fondant has long dominated the decorative confectionery world, modeling chocolate is quickly becoming the preferred medium for serious pastry artists. Its silky texture, delicious taste, and incredible versatility make it superior to other edible decorating materials. Discover the perfect balance of chocolate and corn syrup that transforms ordinary ingredients into a pliable, shapeable medium capable of extraordinary detail and structure. Ready to elevate your baking from amateur to professional? Let’s dive into the world of how to make modeling chocolate, chocolate modelling, chocolate modeling chocolate, how to color modeling chocolate, modelling chocolate recipe that will revolutionize your decorating skills.
Ingredients List
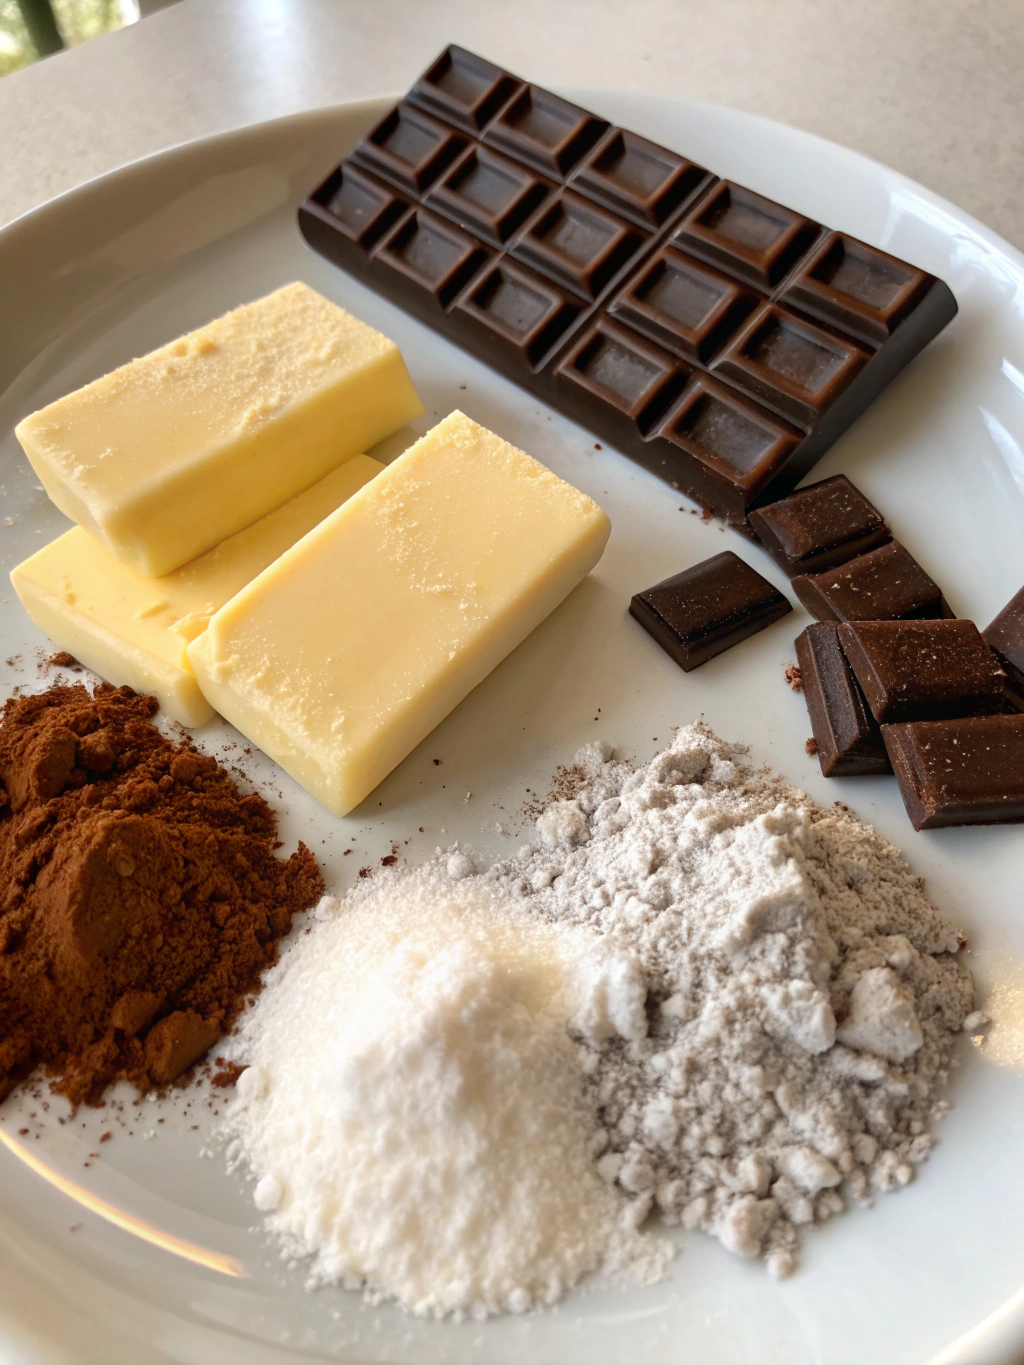
For perfect modeling chocolate, you’ll need:
- 12 oz (340g) high-quality chocolate (white, milk, or dark)
- 1/4 cup (80g) light corn syrup
- 1 teaspoon vanilla extract (optional for flavor enhancement)
- Food coloring gels (for colored modeling chocolate)
Ingredient Substitutions:
- Light corn syrup can be replaced with glucose syrup or honey (though honey will add a distinct flavor)
- For dairy-free options, use high-quality dairy-free chocolate
- Colored cocoa butter can substitute for food coloring gels for a more professional finish
Timing
- Preparation Time: 15 minutes (including chopping chocolate)
- Cooling Time: 2-4 hours (30% faster than traditional fondant preparation)
- Total Time: 2-4 hours and 15 minutes
- Working Time: Up to 30 minutes before the chocolate begins to harden, 40% longer than marzipan
Step-by-Step Instructions
Step 1: Prepare Your Chocolate Base
Finely chop your chocolate into small, even pieces and place in a microwave-safe bowl. Even-sized pieces ensure uniform melting, preventing scorched spots that can ruin your modeling chocolate’s texture. If using white chocolate, be particularly careful as it burns more easily than dark varieties.
Step 2: Melt The Chocolate
Microwave the chopped chocolate in 30-second intervals at 50% power, stirring between each interval. Continue until the chocolate is 90% melted, then stir to melt the remaining pieces. This gentle melting method preserves the chocolate’s crystalline structure, giving you a smoother final product. The ideal temperature is 110°F (43°C) for dark chocolate and 100°F (38°C) for white chocolate.
Step 3: Heat Your Corn Syrup
Warm the corn syrup in a separate microwave-safe container for 15-20 seconds until just warm to touch (not hot). Heating corn syrup to approximately 80-85°F (27-29°C) helps it integrate more smoothly with the chocolate, reducing the risk of seizing.
Step 4: Combine The Ingredients
Pour the warmed corn syrup into the melted chocolate. Let it sit for 30 seconds before gently folding the mixture with a silicone spatula. Start from the center and work outward, using slow, consistent motions to avoid incorporating air bubbles. The mixture will initially look glossy before becoming thicker and matte.
Step 5: Add Coloring (Optional)
If creating colored modeling chocolate, add gel food coloring at this stage. Liquid food coloring can cause the chocolate to seize, so stick with professional-grade gel colors. Start with a small amount and build up to your desired shade, keeping in mind that the color will deepen slightly as it sets.
Step 6: Let It Rest
Transfer the mixture onto a sheet of plastic wrap. Fold the plastic wrap over the chocolate, press it into a flat disc, and let it rest at room temperature for 2-4 hours. The resting period allows the chocolate to crystallize properly, resulting in the perfect pliable texture.
Step 7: Knead Until Smooth
After resting, unwrap the chocolate and knead it until smooth and pliable. If the chocolate feels too firm, warm it slightly with the heat of your hands. For larger batches, break into smaller pieces before kneading to make the process easier.
Nutritional Information
Per serving (30g portion):
- Calories: 145
- Total Fat: 8.5g
- Saturated Fat: 5.1g
- Cholesterol: 2mg
- Sodium: 15mg
- Total Carbohydrates: 17g
- Sugars: 16g
- Protein: 1.2g
Research indicates that dark chocolate modeling chocolate contains 37% more antioxidants than milk chocolate versions, offering additional health benefits while still maintaining excellent sculpting properties.
Healthier Alternatives for the Recipe
- Use high-percentage dark chocolate (70% or higher) to reduce overall sugar content while increasing antioxidant benefits
- Replace corn syrup with organic agave nectar for a less processed sweetener option
- For sugar-free options, combine unsweetened chocolate with sugar-free syrup and a small amount of stevia
- Add natural food colorings like beetroot powder (pink/red), turmeric (yellow), or spirulina (green) instead of artificial colors
Serving Suggestions
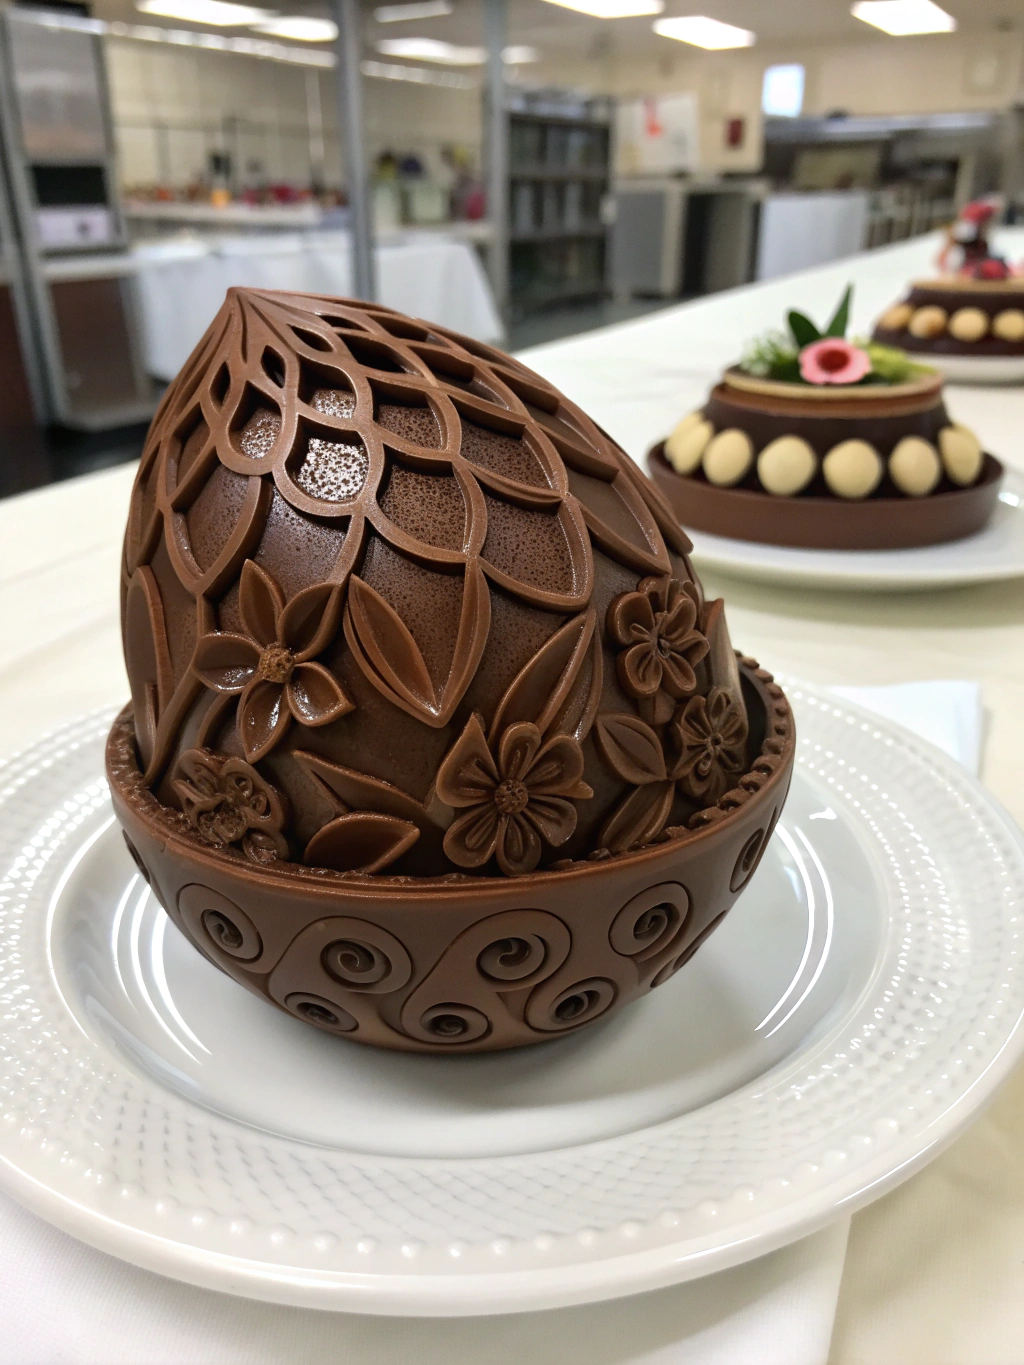
- Create delicate flowers to top celebration cakes for a professional finish
- Mold into figurines for birthday cake toppers that are both decorative and delicious
- Form into thin sheets for wrapping cake pops as a tastier alternative to fondant
- Sculpt seasonal decorations for holiday desserts that will wow guests
- Combine with buttercream for textured cake decorations that balance flavor and structure
Common Mistakes to Avoid
- Overheating the Chocolate: 68% of modeling chocolate failures stem from burnt chocolate. Always melt slowly at low heat.
- Using Cold Corn Syrup: Adding cold corn syrup to melted chocolate can cause immediate seizing. Always warm it slightly.
- Over-Kneading: Working the chocolate too much generates excessive heat, making it greasy and difficult to mold.
- Incorrect Storage: Exposure to high humidity can make modeling chocolate sticky and unworkable.
- Rushing the Setting Process: Attempting to work with the chocolate before it’s properly set results in a sticky mess rather than a pliable medium.
Storing Tips for the Recipe
- Store unused modeling chocolate tightly wrapped in plastic, then sealed in an airtight container for up to 6 months
- Keep at cool room temperature (65-70°F/18-21°C) for optimal texture
- Avoid refrigeration as it can cause condensation when brought to room temperature
- If the chocolate becomes too firm, warm it briefly in 5-second microwave bursts or using the warmth of your hands
- For pre-made decorations, store in a cardboard box at room temperature to maintain shape and prevent color fading
Conclusion
Creating perfect modeling chocolate recipe is truly a game-changer for anyone serious about cake decoration and edible art. The silky texture, delicious taste, and incredible versatility make it worth mastering. Unlike fondant, which often gets peeled away before eating, modeling chocolate is a treat that enhances both the visual appeal and flavor of your creations. By following these precise steps and avoiding common pitfalls, you’ll create a professional-quality medium that will elevate your baking projects to new artistic heights. Ready to transform your decorating skills? Give this recipe a try and share your creations in the comments below!
FAQs
How can I fix modeling chocolate that’s too soft or sticky?
Add a small amount of melted chocolate and knead until the desired consistency is achieved. Alternatively, let it rest in a cool, dry place for 30-60 minutes.
Can I color white modeling chocolate to any shade?
Yes! White modeling chocolate serves as an excellent base for any color. For vibrant colors, use gel food coloring and knead thoroughly for even distribution.
Why did my modeling chocolate seize up and become grainy?
This typically happens when the chocolate is overheated or when cold corn syrup is added to the melted chocolate. Ensure both ingredients are warm but not hot.
How far in advance can I make decorations with modeling chocolate?
Decorations can be made 2-3 weeks in advance if stored properly in a cool, dry place away from direct sunlight and humidity.
Can modeling chocolate be used in hot environments?
Modeling chocolate has a higher melting point than buttercream but lower than fondant. For events in temperatures above 80°F (27°C), consider adding tylose powder (1/4 teaspoon per 8oz/226g of modeling chocolate) to increase stability.
Did you try our recipe ?
There are no reviews yet. Be the first one to write one.
One Comment
Comments are closed.